Showing posts with label tutorial. Show all posts

Wednesday, June 8, 2016

Make Your Own Olympics T Shirt


Since the Olympics are just around the corner I thought I would share this free printable so you can make your own Little Olympian t shirt. Brody and I made this one for the last summer Olympics and he loved it!


All you need is a printer, iron on transfer paper, a shirt and an iron. Simply follow the instructions that come with your iron on transfer paper.


Wednesday, February 3, 2016

Baked Reuben Braid


A few years ago I learned how to make this delicious Baked Reuben Braid using Rhodes Rolls. It is seriously so tasty and quite simple to make. Just one can feed a small family. I am going to show you how o make them today. I hope you try and make one, you won't regret it.


Ingredients:
1 loaf Rhodes Bread Dough or 12 Rhodes Dinner Rolls, thawed to room temperature
1/3 cup light Italian cheese salad dressing
1/2 pound thinly sliced turkey pastrami
8 slices Swiss cheese
2 cups sauerkraut, drained
1 egg white, beaten
2 tablespoons caraway seeds

To start out, you will need to spray your counter lightly with non-stick cooking spray. Roll your dough into a 12 x 16 inch rectangle. Cover with plastic wrap and let rest for 10 to 15 minutes.

Next you will remove the plastic wrap from dough and make cuts 4 inches long and 1 1/2 inches apart on the long sides of your dough.

Tip: if your strips are too thin the braid can leak. Use a ruler if you need to.


Pour the dressing lengthwise in a 4 inch strip down the middle of the dough. Top with pastrami, Swiss cheese and then sauerkraut.


Tip: make sure to drain your sauerkraut really well. I even used paper towel to help remove some of the juices. Let the paper towel soak up the extra juices.


Start braiding by folding the top and bottom strips toward filling. Next braid strips left over right, right over left. Finish by pulling the last strip over and tucking under braid.

Tip: make sure the end of the strips stay tucked in so they don't lift while baking.

Lift braid with both hands and place on a large sprayed baking sheet. Brush with egg white and sprinkle with caraway seeds.
Bake at 350 degrees for 30-35 minutes or until golden brown. Cool slightly and slice to serve.
Enjoy!


For more family friendly recipes head over to the Rhodes Blog.


Thursday, January 7, 2016

DIY Valentine Mail Bag


Last year I made this easy, no sew Valentine mail bag with my kids. It was a hit! In fact, they played with it long after the holiday. it will only take a few minutes to whip up one of these bags.


You will need the following sizes of felt in the same color; 12 x 9, 8 x 9 and 2 x 24. You will also need a pink or red felt heart, a hot glue gun and fabric paint.

You can cut your heart free hand or use a pattern.


First lay down the 12 x 9 sheet of felt and then lay the 8 x 9 sheet on top, matching up the bottom edges (as shown below. With the hot glue gun, glue the bottom edges and side edges together. 

 The top half will then become the top flap to the bag by folding it over.

Now take your felt heart and center it along the bottom half of the flap as shown below. Using the hot glue gun glue the top half of the heart to the bottom part of the flap. Make sure you don't glue the bottom of the heart or you won't be able to get into your bag.

 To make the strap, turn the bag over and glue each end of the 2 x 24 strip of felt to the top of the back side of your bag.

 And lastly take your fabric paint and write mail in the center of the heart. Of course you can write anything you want, perhaps your child's name.

As you can see, my sassy little Sadie loves this bag!  


Monday, November 9, 2015

Skinny Turkey Chili Soup


Last winter I was hooked on this low calorie turkey chili. I would make a big batch and put it in serving size containers, store it in the fridge so I would have a quick lunch all ready to go. All I had to do was warm it up in the microwave.

I love that this soup is low in calories, high in protein and would fill me up fast. Win! Win! Win!

Skinny Turkey Chili Recipe

Ingredients
1 pound lean ground turkey
1 onion, chopped
1 red pepper, chopped
1 cup celery chopped
1 can of Rotel
1 teaspoon ground cumin
salt and pepper to taste
1 teaspoon paprika
1/8 teaspoon ground cayenne pepper
2 teaspoon chili powder
1 can low fat chicken broth


Directions
1) Brown the ground turkey, salt and pepper to taste. Set aside.
2) In a large pot cook the peppers, onion, celery on low heat for about 3-5 minutes, until they begin to soften.


3) Add the chili powder, paprika, cumin and cayenne pepper, Stir for 1 minute.
4) Add the can of Rotel and chicken broth. Bring to boil over high heat.
5) Once the soup begins to boil reduce the heat to low-medium and allow to simmer uncovered for 15 minutes.
6) Add the cooked ground turkey and simmer for 5 minutes.


This recipe is usually for about 4 servings. I like to double the recipe so I will have plenty of ready made lunches all set.


Friday, September 4, 2015

Confetti Cake Cookies


I love these super easy confetti cake cookies. I always seem to have the ingredients on hand (all three of them) and my kids love helping me make them. Even my two year olds like rolling the dough into little balls.

To make them you will need one box of confetti cake mix, 1/2 cup of oil, 2 eggs.
Mix all ingredients until well blended.

Roll into small balls and place on to cookie sheet lined with parchment paper.
Flatten the balls slightly with the end of a cup.

Bake for 8-10 minutes at 350 degrees.

My kids also like them with frosting on top but they are tasty without frosting too.


Wednesday, August 12, 2015

Homemade Butter Mints, The Old Fashioned Way


A few weeks ago at my cabin I came across a family recipe for homemade butter mints and decided to try making them. They were fairly easy to make and tasted amazing so I figured I would share them here. I didn't really take pictures of the process because it was my first time making them and I wasn't thinking about blogging at all.

Ingredients
3 cups sugar
 1/2 cup butter
1 cup hot water
2 tsp white corn syrup

1)Place ingredients in a large pan on high heat. Stir until sugar is dissolved.
2)Cover pan with lid and boil for 3 minutes.
3)Remove the lid and cook with out stirring until mixture reaches 250 degrees Fahrenheit or until syrup threads.
4)Poor mixture on to buttered marble slab or tray. Cool slightly.
5)Add 1/2 teaspoon of peppermint extract.
This could possibly be done while it is cooking but I didn't try that. I just stuck to the recipe.
6)Pull until color is dull and holds it shape.  Add desired amount of food coloring while candy is being pulled.
7)Stretch into 1/2 inch rope and cut into 1/2 inch. I rolled mine into small balls and pressed down with the back side of a fork.
8) Cool completely and store in a air tight container overnight to ripen before eating.  


Tuesday, March 31, 2015

Stuffed Bunny and Free Pattern


Easter may be a few days away, but there is still time to make one of these sweet little stuffed bunnies for them for Easter. My kids love their stuffed bunnies, even Sadie and Sammy sleep with theirs from last year.
My mother in law is sharing her pattern for the bunnies so you can make your own.

 All you have to do is download your free stuffed bunny pattern and instructions.
Of course if you don't feel like making them, my mother in law sells them in her Etsy shop.

Tuesday, March 24, 2015

Bloom Where You Are Planted Sign


Hey Everyone! This is Summer from Summer Scraps and I am so excited to be here today! Over on my blog you can find all kinds of crafts and recipe ideas. Today I am get to share a Spring idea with you. Spring is here and one of my favorite things about Spring time is the flowers! I love the phrase "Bloom where you are planted". So I thought this would be the perfect time of year to create a sign using this phrase.
 

Bloom where you are planted

Supplies Needed:

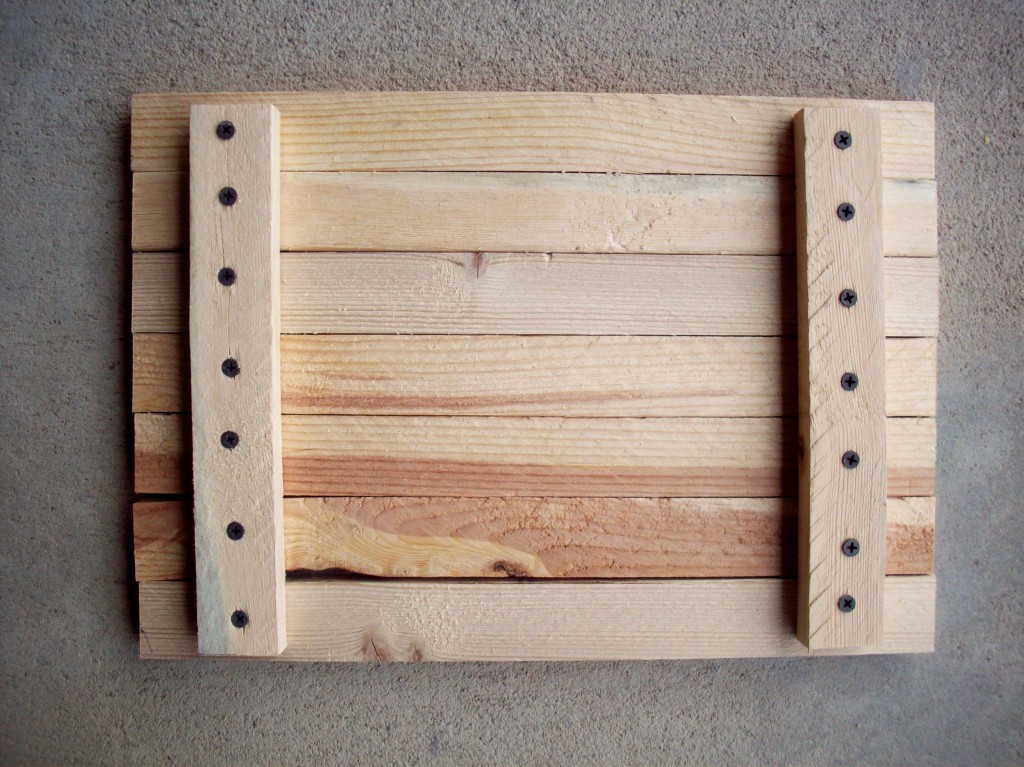
  • Scrap Wood – I used 2×2 wood scraps (7 boards are 15″ and 2 boards are 10″).
  • 14 – 1 1/4″ screws – I predrilled the holes and then put the screws in to make sure the wood did not crack.
  • White paint
  • Flower Stencil - you can buy one or make one
  • Red and orange spray paint
  • Vinyl that says “Bloom where you are planted”
  • Tape
  • Scrap paper
Okay let’s get started! First Cut/sand your wood. Line up the 15-inch wood pieces as shown in the picture below. Screw in the two shorter pieces to add stability.

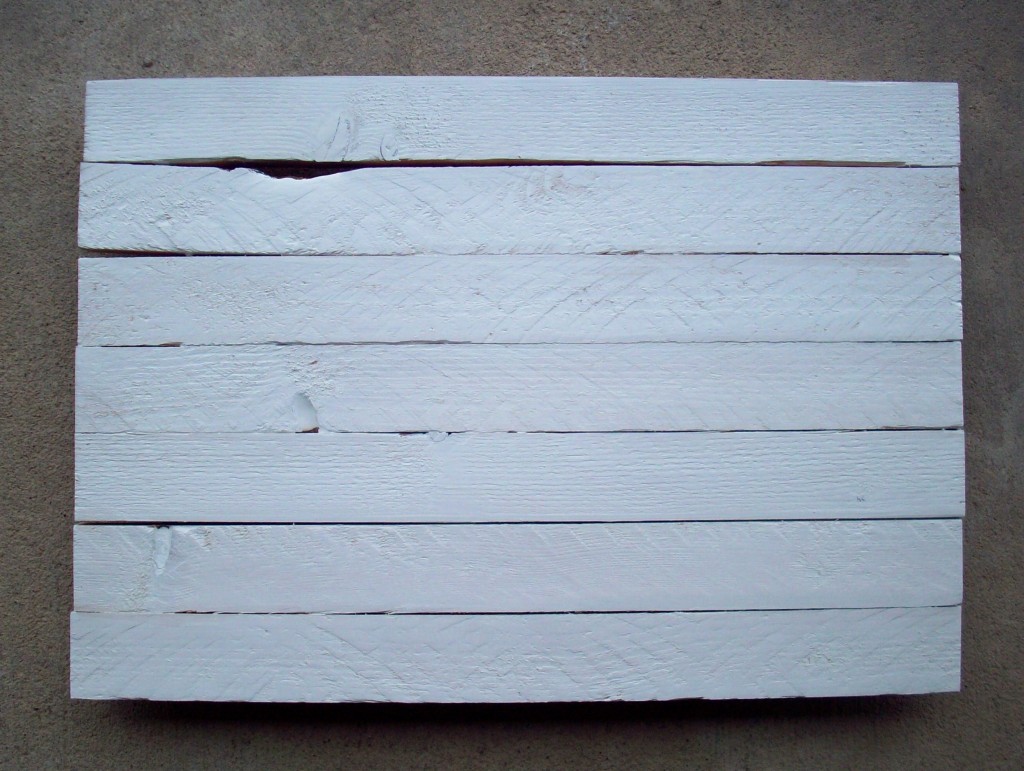
Flip your sign over and paint it white, let dry.
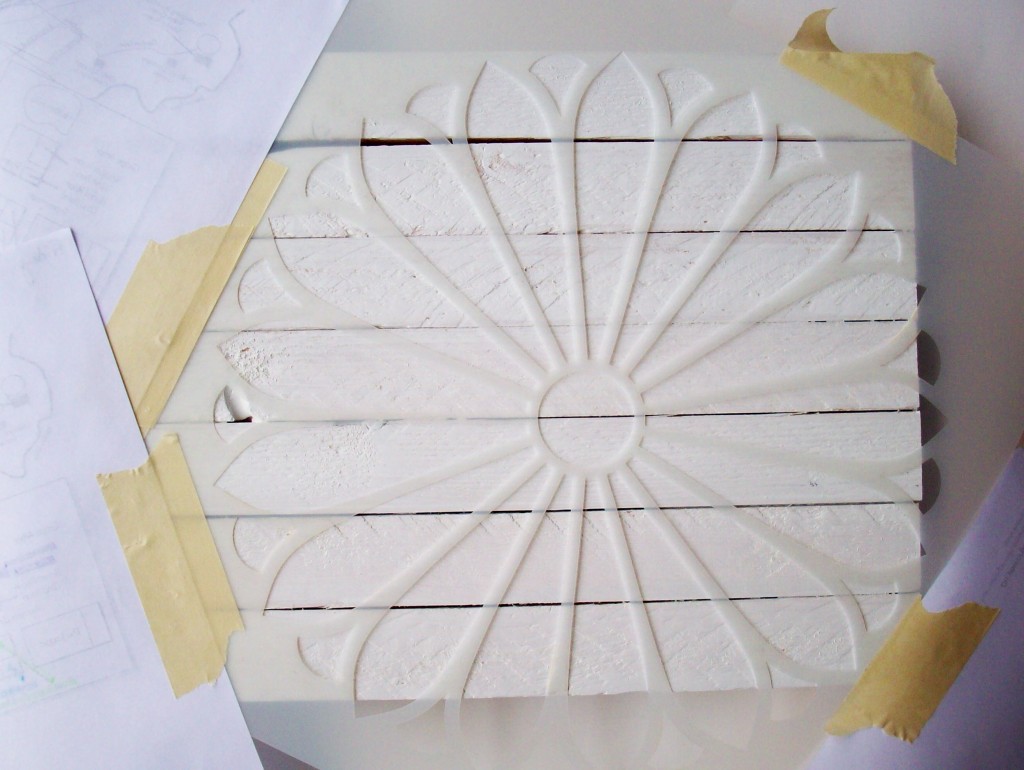
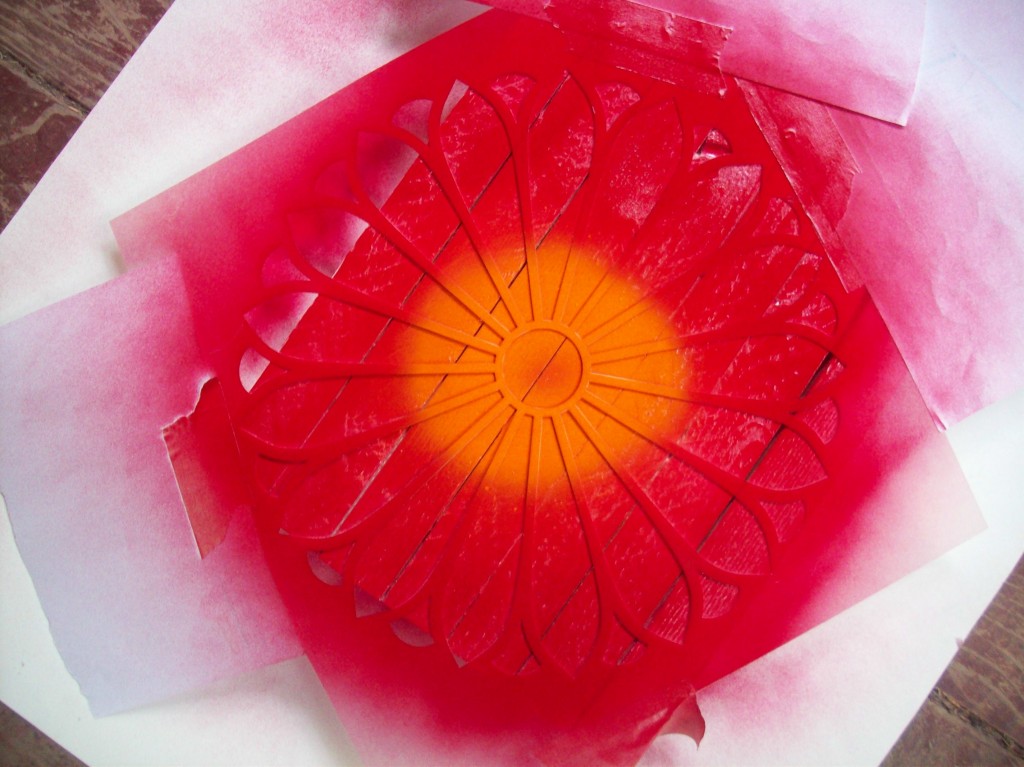
Once dry, tape down your flower stencil on the wood. I placed paper around the edges to make sure excess spray paint didn’t get anywhere else on the wood.
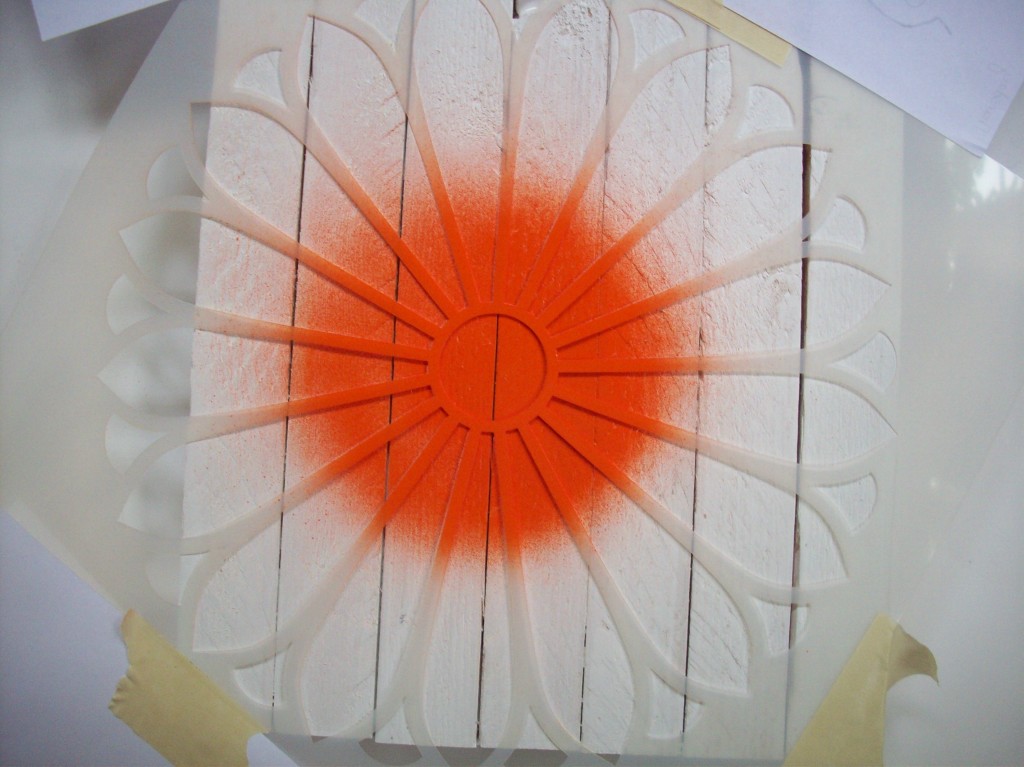
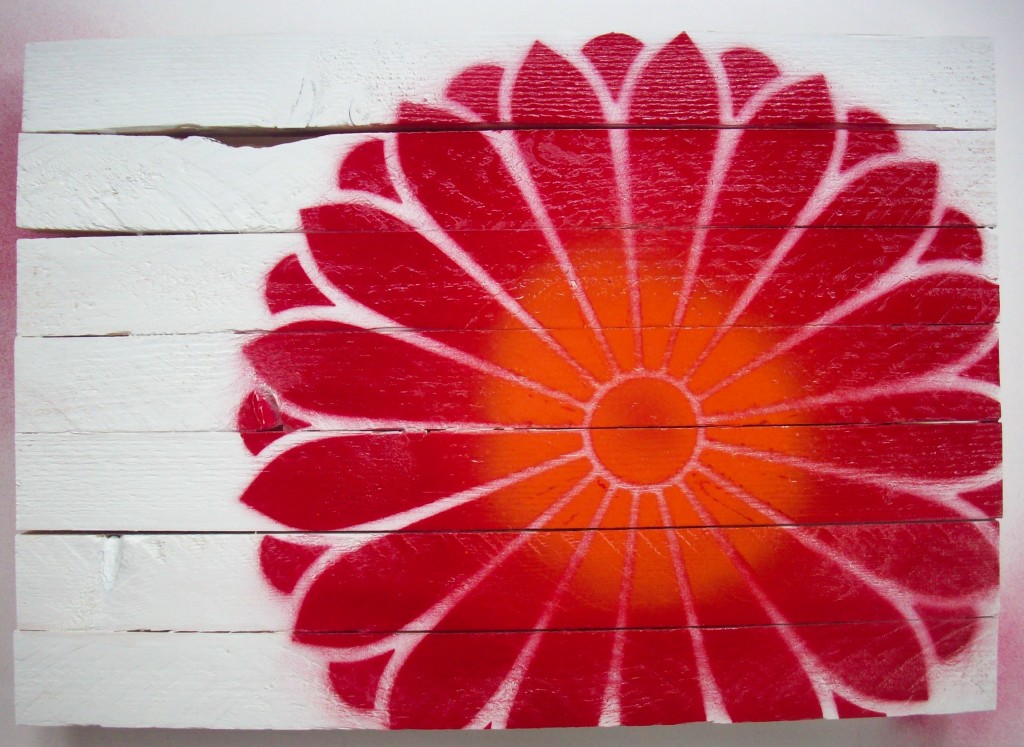
So I wanted my flower to be red with a pop of orange in the middle. So first I used the orange spray paint and I lightly sprayed around the middle section.
Next I used the red spray paint and lightly sprayed over the rest of the stencil. I lost a bit of the orange so I gave the middle a quick spray of orange in the center again.
Then I carefully removed the stencil and let it dry.
I did the words in black vinyl. I used the Brush Script font (in case you are wondering). Add your vinyl words and you’re done!
Perfect for a nice spring day, right? If you like this idea you will probably want to see how I made these cute Bunny Cupcake Toppers Bunny-cupcake-toppers

 I would love for you to come on over and visit me on my blog Summer Scraps or follow me on pinterest!


For past Spring Fling posts go here. 

Thursday, February 19, 2015

Froot Loops Name Activity


Supplies:
Froot Loops
Unlined paper
Markers or crayons
Glue

Start by writing your child's name on a blank piece of paper or if they are old enough let them write it. Next they will glue the Froot Loops on each of the letters in their name. Let dry.

Depending on their age and gluing skill level you may need to be a little hands on.

Let your child decide if they want solid colors or to make patterns with their Froot Loops.


Wednesday, February 18, 2015

Froot Loops Necklace


Making Froot Loop necklaces have been around for as long as I can remember but what little kid doesn't love making them? They are great for little ones to practice patterns plus it is really good for their hand eye coordination and strengthening their fine motor skills. Oh and of course they are colorful and yummy!

Supplies:
Froot Loops
Yarn
Tape

To make it easier we like to tape one end of the yarn to the table so the Froot Loops won't slide off. The other end we wrap tape around so the yarn won't unravel while the kids are trying to string the Froot Loops.

Tuesday, February 17, 2015

Froot Loops Bars


These Froot Loops Rainbow Bars are so fun. The bright colors and sweet flavor will make any kid happy! They are even more fun when you let your little ones help make them. They only have three ingredients and don't take long to make.

Ingredients:
10-12 Cups Froot Loops
1 Bag of marshmallows
6 Tablespoons butter

Step 1) Melt the butter and marshmallows in a large pot on medium heat. Stir the marshmallow mixture until smooth. Remove from heat. 


 Step 2) Stir in the Froot Loops. Make sure they are evenly coated with marshmallow. 


Step 3) Press into a 9 x 13 greased pan. Let cool in the refrigerator.

Step 4) Cut into bars and serve.